
Riso Wars - The battle of the gradients
In this new blog series, join me as I tackle the classic struggles of a riso printer!
We will be looking at file issues, mechanical drama’s as well as your day-to-day struggles. And no, these posts will not be only doom and gloom! The aim of these articles is to also give you solutions or inspiration on how to resolve these issues.
As I often say, in the world of riso, there are many roads that lead to Rome… So if you have found other solutions to similar problems, do share them with me and the community!
The more we can learn from each other, the better.
The Battle of the Gradients!
For this first post in this series I wanted to touch on a very popular subject: colour gradients. This is one of the most favourite effects for riso prints - it’s great to add depth and for mixing colours of course! But, sometimes, when we print a gradient the result can be a strange one…


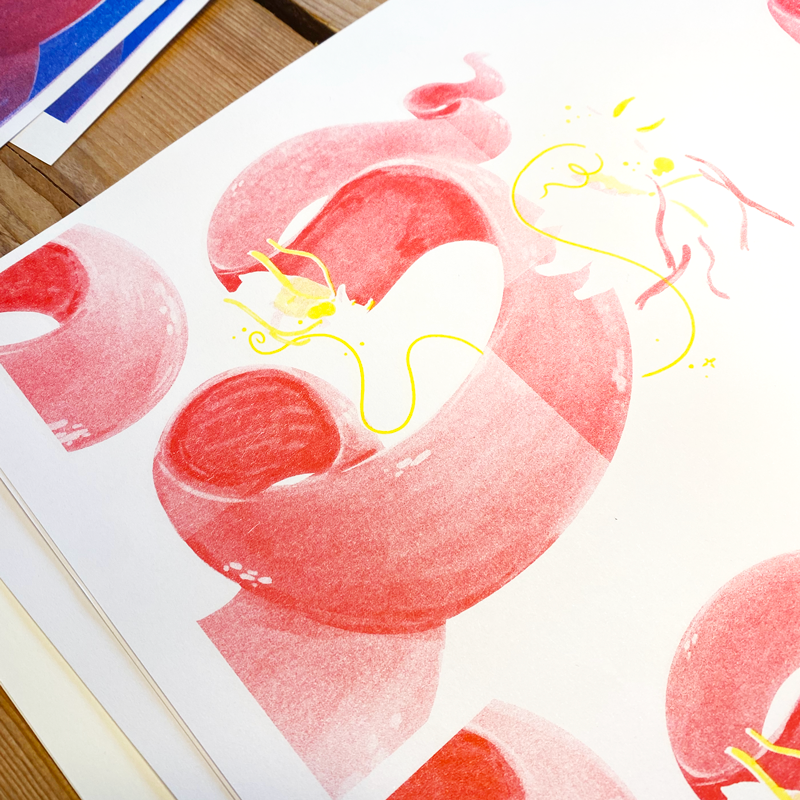
This image shows the blue layers of the file and you can see how the gradients were used/added.
As you can see in this images above, the gradient that was in this file has been broken down into lines or squares, not the result I wanted. In the original drawing, I had used different gradients to add more depth to the illustration. Also the colour densities change within the “squares” making the print even less close to the original.
Why is this happening?
After jumping into the riso forums and groups I can summarise what I have learned in: Gradients are processed in unexpected ways (and apparently those with transparency are even worse), and one of these ways is for the image to be sliced up into broad lines, squares or sections.
Here is a list of tips that can help you set up the right files:
Do not send files as a vector gradient, always use raster.
Add 3 to 5% noise to raster gradient to create an even gradient instead of ‘stripes'.
Flatten the gradients.
Save your files a TIFF > and especially if you will then use InDesign to export into a PDF!
When exporting to PDF, select the option PDF/X1a:2001 instead of High Quality.
Extra: In the riso driver, you can turn off the “backlight correction” option. You can find this under the tab Image > next to the Grain Touch/Screen Covered options > as an advanced button.
Credits go to Paul Morgan, Jinhee Han and George Wietor of the Risograph Priting FB community & Rachey at the riso discord.


What solved my problem?

To be honest, for me it was the TIFF file settings that did the trick. You can even see that in this last image even the colours are brighter and better distributed.
I decided to google exactly what is a TIFF image to try and understand the process behind.
TIFF file format is a type of raster image file formats. Raster images are those images that are composed of several pixels, like bitmap images which consist of a bit. Increasing or decreasing the size of these pictures may distort the actual image, unlike the vector images.
Contrary to JPEG image formats, TIFF file formats can’t be compressed. Vector images are defined by mathematical formulas, hence resizing them doesn’t have any impact on image quality. But, this is not the case with TIFF images.
It seems TIFF images are very compatible with print drivers, and since they have ‘less mathematical information’ than vector images, the translation of gradients, for example, gives much better results. You could argue that due to this new age, where software can do so much for us, we often forget this is also extra information encrypted in a file. These heavy files can be then read in different ways by secondary machines such as a riso printer.
Our big conclusion being that simpler/flatter files work better when print with riso.
I hope this article was useful to you, and may have saved you some time and headaches. Let me know on the comments below if you have other themes to be touched on this series :)
Have fun printing!!!

